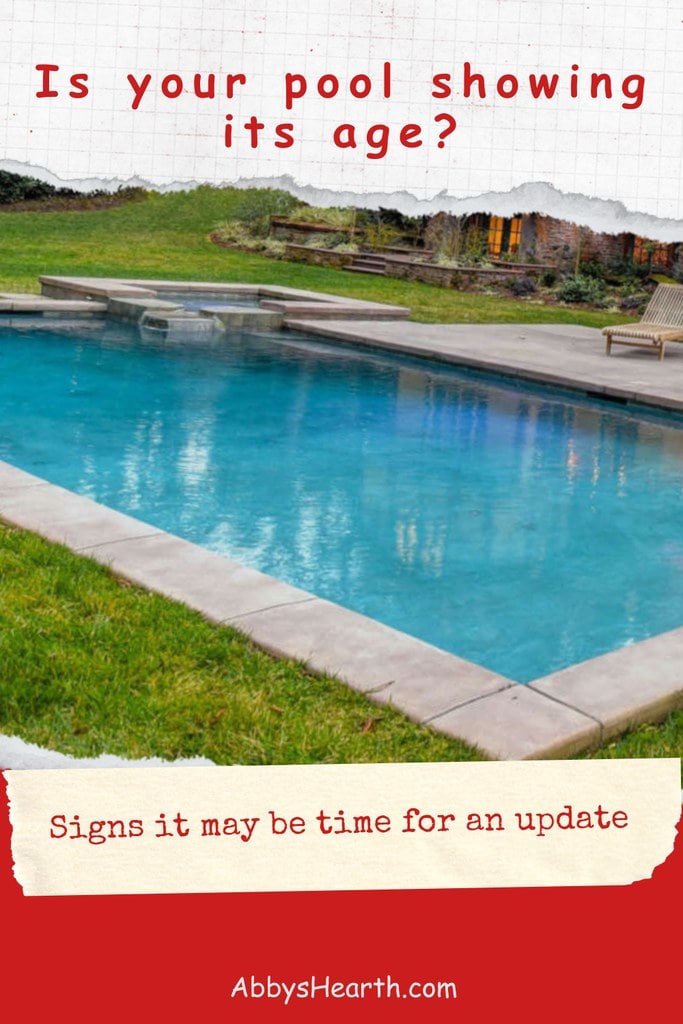
A lot of pools like this came with the house — a concrete basin that’s clearly been sitting in the backyard since the eighties, with a dated tile border and a floor that feels like walking on fine-grit sandpaper. It’s easy to assume the whole thing needs to be torn out and started over, and that’s usually what stops us from dealing with it for years.
But once we actually start poking around and tackling the small stuff ourselves, it becomes obvious the structure itself is completely fine — it’s just wearing thirty-year-old finishes. From here on, it’s just about fixing layers. You don’t have to worry about digging a new hole in the yard, but simply think, project by project, about what’s realistic to do yourself and what isn’t.
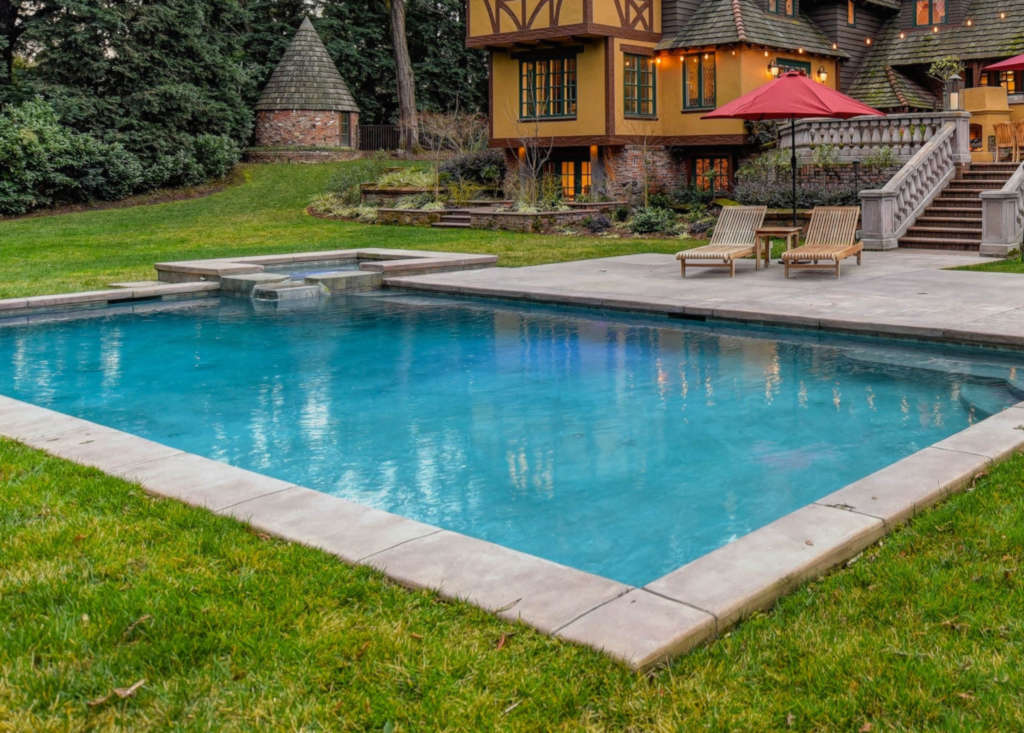
The pool surface feels rough or looks worn
This is usually the first thing you notice, especially if there are kids in the house. Ten minutes in the water and they’re back out, picking at scraped-up toes. That’s just what happens as a plaster surface ages: water chemistry slowly wears down the smooth top coat until you’re standing directly on rough aggregate underneath. A DIY patch kit can buy a little time on a small corner, but it won’t really fix the overall texture — it just fills a few pits.
Resurfacing the whole thing properly isn’t really a weekend DIY job. This is usually the one part that homeowners end up calling in help for — hiring a crew to handle replastering swimming pools — and it’s the single upgrade that changes the whole feel of getting in the water. Worth it, even for someone doing everything else themselves.
If you’re weighing finishes yourself, here’s how the main options compare:
- Standard white plaster — the most affordable option, and it has a classic look. The tradeoff is that it stains faster and doesn’t last as long as the alternatives.
- Quartz finishes — a solid middle ground. The added minerals make it noticeably harder than plain plaster, and it catches the afternoon light beautifully.
- Exposed pebble surfaces — extremely durable, and forgiving of small water-chemistry slip-ups. The texture is closer to that of a smooth riverbed than that of a polished floor.
Chips, cracks, and persistent stains Appear
This one is worth chasing down yourself before calling anyone, mostly to rule out a plumbing leak first. The bucket test is the simplest way to check: fill a bucket with pool water, mark the level on both the bucket and the pool tile, and compare after a couple of days. If the pool has dropped noticeably more than the bucket, it isn’t just evaporation.
Shifting soil and a few brutal summers are enough to open hairline cracks that are easy to miss just glancing at the water, along with those stubborn dark patches that won’t scrub away no matter how hard you try. Once plaster gets porous enough, it actually absorbs algae and rust into the wall. That’s not a scrub-it-yourself problem, and it’s a big part of why proper resurfacing tends to be non-negotiable.
The tile and coping are looking tired
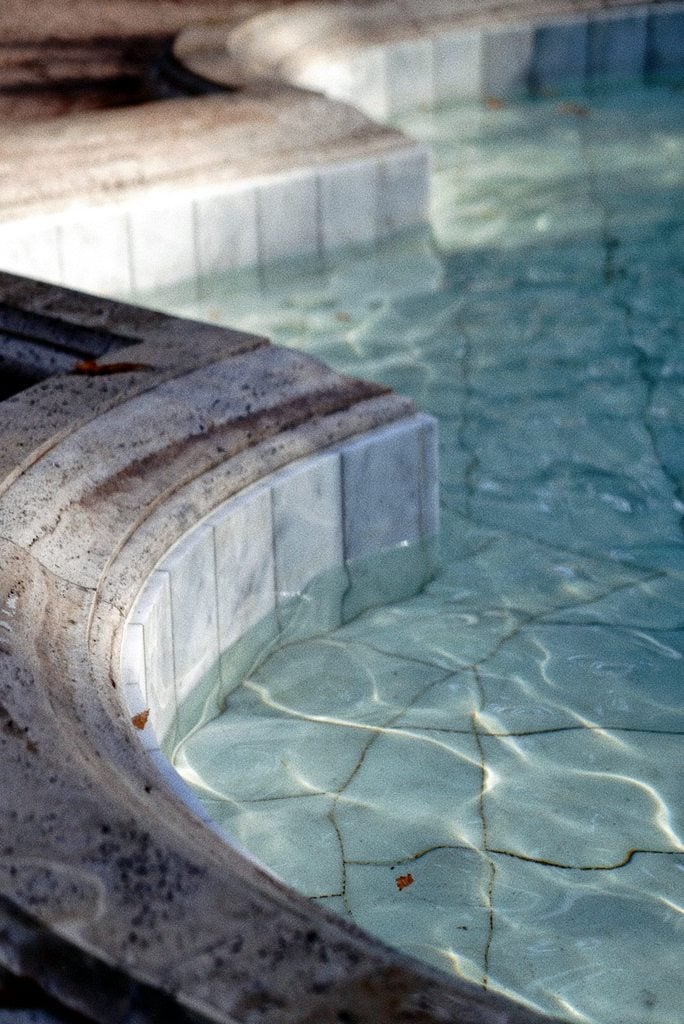
This one is genuinely doable yourself, usually over a weekend or two. The tile at the waterline isn’t just decorative. It’s main job is to stop body oils and sunscreen from soaking into the plaster below. But it’s also the single most dated-looking thing in most older pools, especially if it’s still the heavy, dark style that was popular twenty-five years ago.
Popping the old pieces off with a chisel and thin-set remover, then setting new glass tile in their place, is slow but manageable without hiring anyone. You’re not touching the shape of the pool at all, just the finish, making it probably the highest-impact, lowest-cost weekend project on this whole list.
The pool deck has seen better days
The deck is usually a hybrid job. Sections that are just cosmetically worn can be resurfaced yourself with one of the concrete overlay products made for exactly that. But if the slab has actually started sinking near a corner, it’s better to call someone who can properly regrade and repour.
Definitely not worth spending your own labor on it because you’ll anyway end up reaching for help. If the deck is only cracked and flaking but structurally sound, you can set up a DIY weekend with the help of family and friends (or solo) to add an overlay or a slip-resistant coating.
The design feels dated
This is usually an area not worth attempting yourself. Filling in a deep end means real excavation and structural work, which isn’t a backyard DIY project by any stretch. If you’ve done a bit of construction work before, maybe you will be able to do it yourself. But otherwise, it’s better to leave the remodeling to a professional.
maintaining the Pool is Becoming Tedious
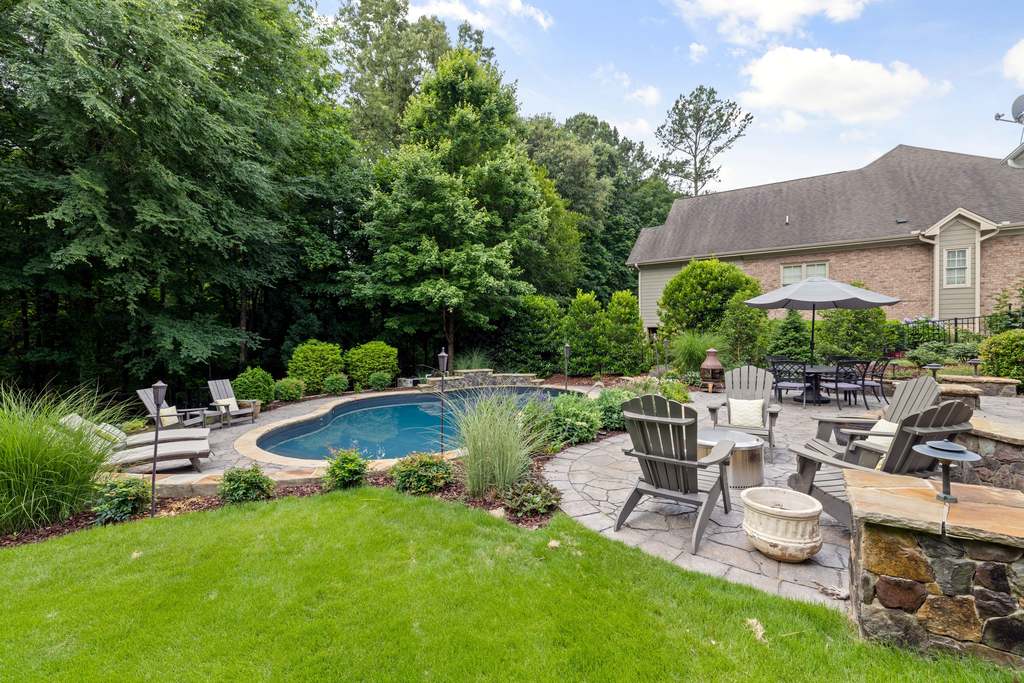
Maintenance is usually where the real DIY wins show up. An old single-speed pump is loud, inefficient, and often the reason an electric bill doubles every summer. Swapping it for a variable-speed pump isn’t a huge job, so you could easily do this yourself. But for safety sake, it’s worth having an electrician double-check the wiring. An automated chemical feeder is a similar story: an afternoon to install, and it saves a lot of weekend babysitting of the water’s pH after that.
Should you repair, refresh, or remodel? What’s the difference?
If there’s one thing worth understanding before starting a project like this, it’s the difference between these three words, because they determine both the budget and who actually needs to get a call. A repair fixes one broken thing — a cracked pipe, a failed valve — and it’s often something a homeowner can DIY. A refresh is surface-only: new plaster, new tile, nothing structural, and it’s a mix of DIY-able and pro-only depending on the pool. A remodel changes the actual shape of the pool, and that’s contractor territory, full stop. Knowing which one is actually needed, before calling around, saves from either overpaying for a repair or underestimating a remodel.
Other Posts You Might Like
- How to make your outdoor spaces more homely
- Does your home sound good?
- Are park model cabins the secret to comfort?
- Why using wagons for outdoor garden work helps
- Leatherworking gifts for your industrious friends